Documentation
Tenancy - Domains, Database, Users, Role, Permissions & Settings
- Current Version: 2.0.1
- Author: Quebix-Technology
- Created On: 21 October 2021
- Last Update: 7 November 2023
If you're not familiar with the procedures presented, We can help you via support desk. Support Desk.
Welcome
About
License
Regular License
Extended License
Installation
It comes with prebuilt installer. Follow these steps to step guide on your server.
Server Requirements
- PHP >= 8.1
- OpenSSL PHP Extension
- PDO PHP Extension
- Mbstring PHP Extension
- Tokenizer PHP Extension
- JSON PHP Extension
- CURL PHP Extension
- Imagick PHP Extension
Creating a new Domain
Note: Please link your domain directly to the main file (don't link the public folder under main file).
When Creating A Admin-Domain : When you create any domain, link your Admin domain where you have linked your main domain.
Creating a new database
Uploading Files
- After creating a database, Upload what's inside the
main_filefolder on the web root folder of your domain. This folder is generally calledpublic_html,html, orexample.com, but depending on your server's configuration, it might be named differently.
Installation Steps
- After you purchase Sellify, you will get a zip file.
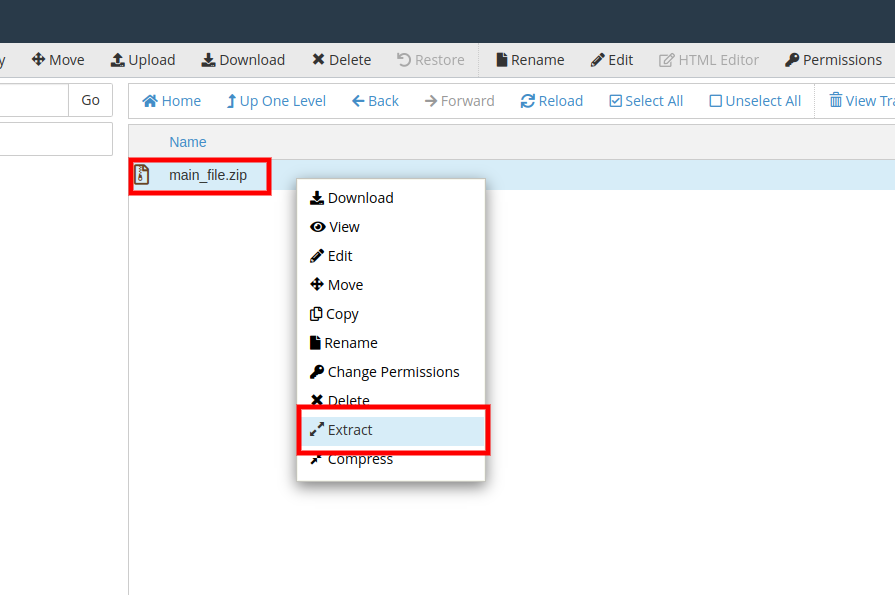
- After Extracting the zip file you will get an main_file.zip file.

- Upload main_file.zip in your server & extract it.
- Once extraction is completed , delete the main_file.zip file from server.
- If you upload it in public_htmlfolder, then visit your_domain_name.com in browser.
- If you upload it in a folder inpublic_htmlfolder, then visit your_domain_name.com/folder_name in browser.
- If you upload it in your created subdomainfolder, then visit subdomain.your_domain_name.com in browser.
- If you upload it in a folderin your created subdomain folder, then visit subdomain.your_domain_name.com/folder_name in browser.
- Go to your website address, then you'll see an installation wizard. To open the installer. Visit
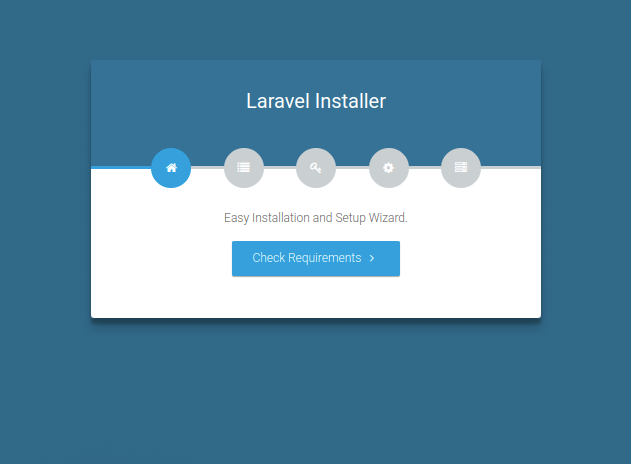
- Now the installer will show up.The First screen will be Welcome Screen
- After you enter your website URL in your browser you will see a welcome page of Sellify Installer . Then click on Check Requirements Button.
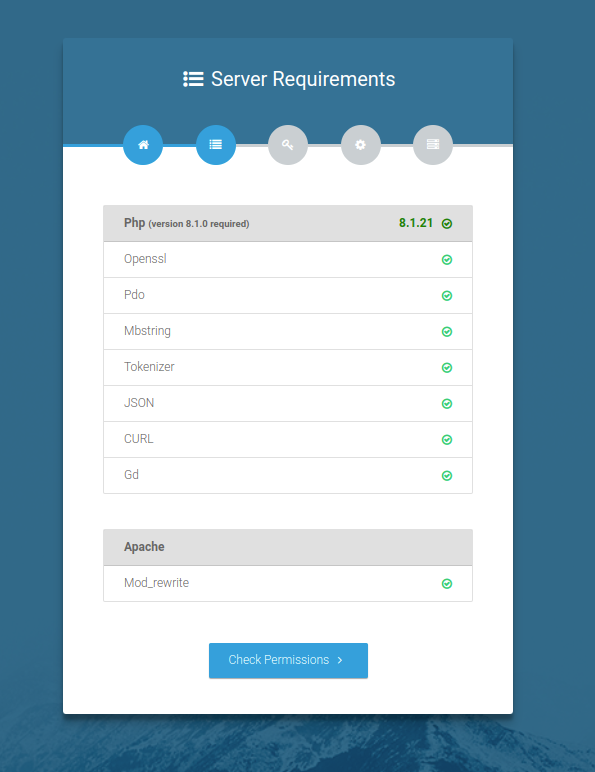
- Next, you will be shown a list of extensions required to run this software. If all the extensions have green check icon, then click on Check Permissions button . If any extension has red cross icon, then you need to enable / install the extension in your server first. You might need to contact hosting support for that.
- Next, you will be shown a list of extensions required to run this software. If all the extensions have green check icon, then click on Check Permissions button . If any extension has red cross icon, then you need to enable / install the extension in your server first. You might need to contact hosting support for that.
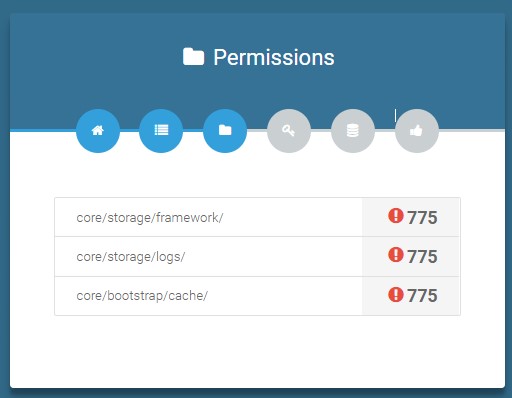
- Let us show you how to change folder permission of 'core/storage/framework/' as an example
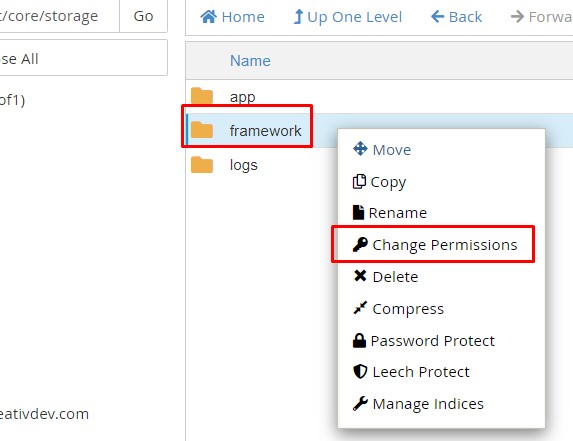
- First, navigate to core > storage folder in your server
- Right click on the framework folder & choose Change Permissions from the dropdown
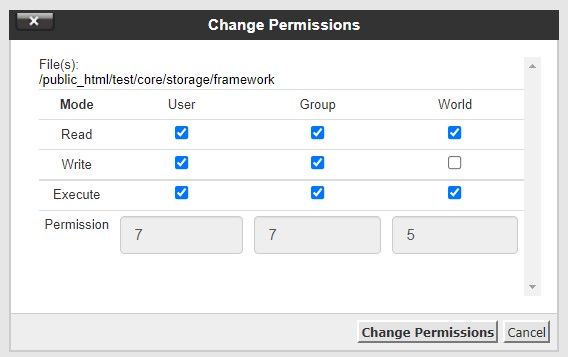
- Then, you will be shown a popup, change the permission to 775 in the popup
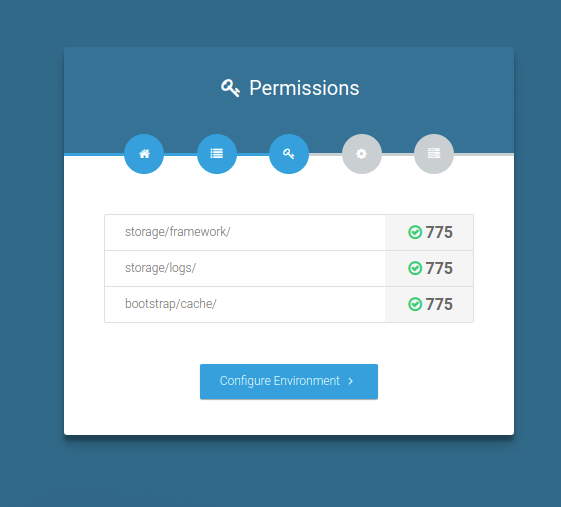
- Thats it, you have changed the permission to 775 for 'core/storage/framework/'. Now repeat the same procedures for the other folders of the list shown in Permissions Step in Sellify Installation Wizard
- Then, go back to installation wizard & refresh the page.You will see all the folders are checked with green icon
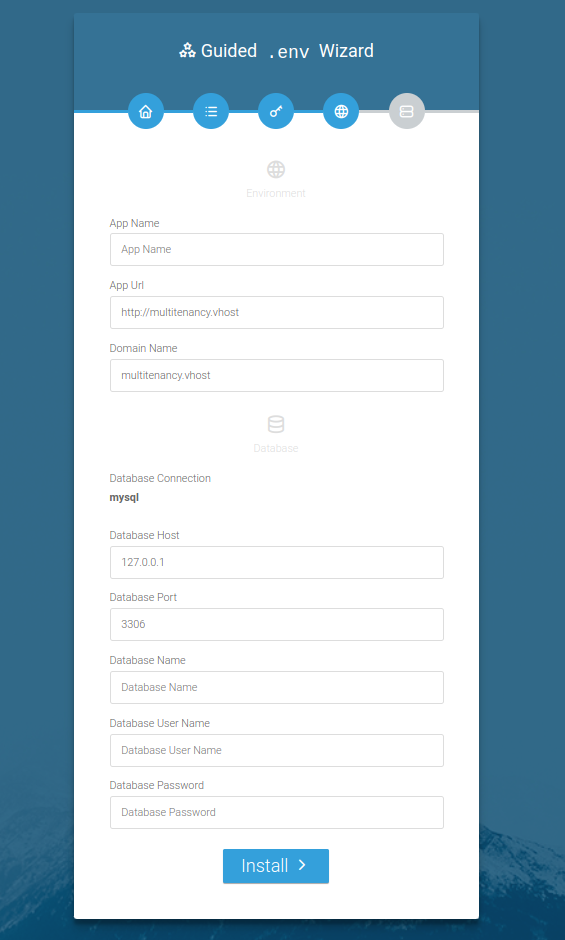
In this step, you have to give some of your environment & Database info.
- App Name: You app name
- App URL: Enter your website URL here.
- Domain: This will automatically be detected & prefilled by the
installer. But if the domain is detected wrong by installer, then please correct it.
If the domain is incorrect , then you will see 404 Page thoughout the website after
installation.
How to get domain:
- if your website URL is
https://example.com/, then host will beemaple.com - if your website URL is
https://subdomain.example.com/, then host will besubdomain.example.com
- if your website URL is
- Then put all your database information - Database Host, Database Name, Database Username, Database Password
Default Login
superadmin@example.com / admin@1232
Create Admin
How To Create Admin SuperAdmin Side
- Login SuperAdmin Admin And Go to Admin
- Click Add New
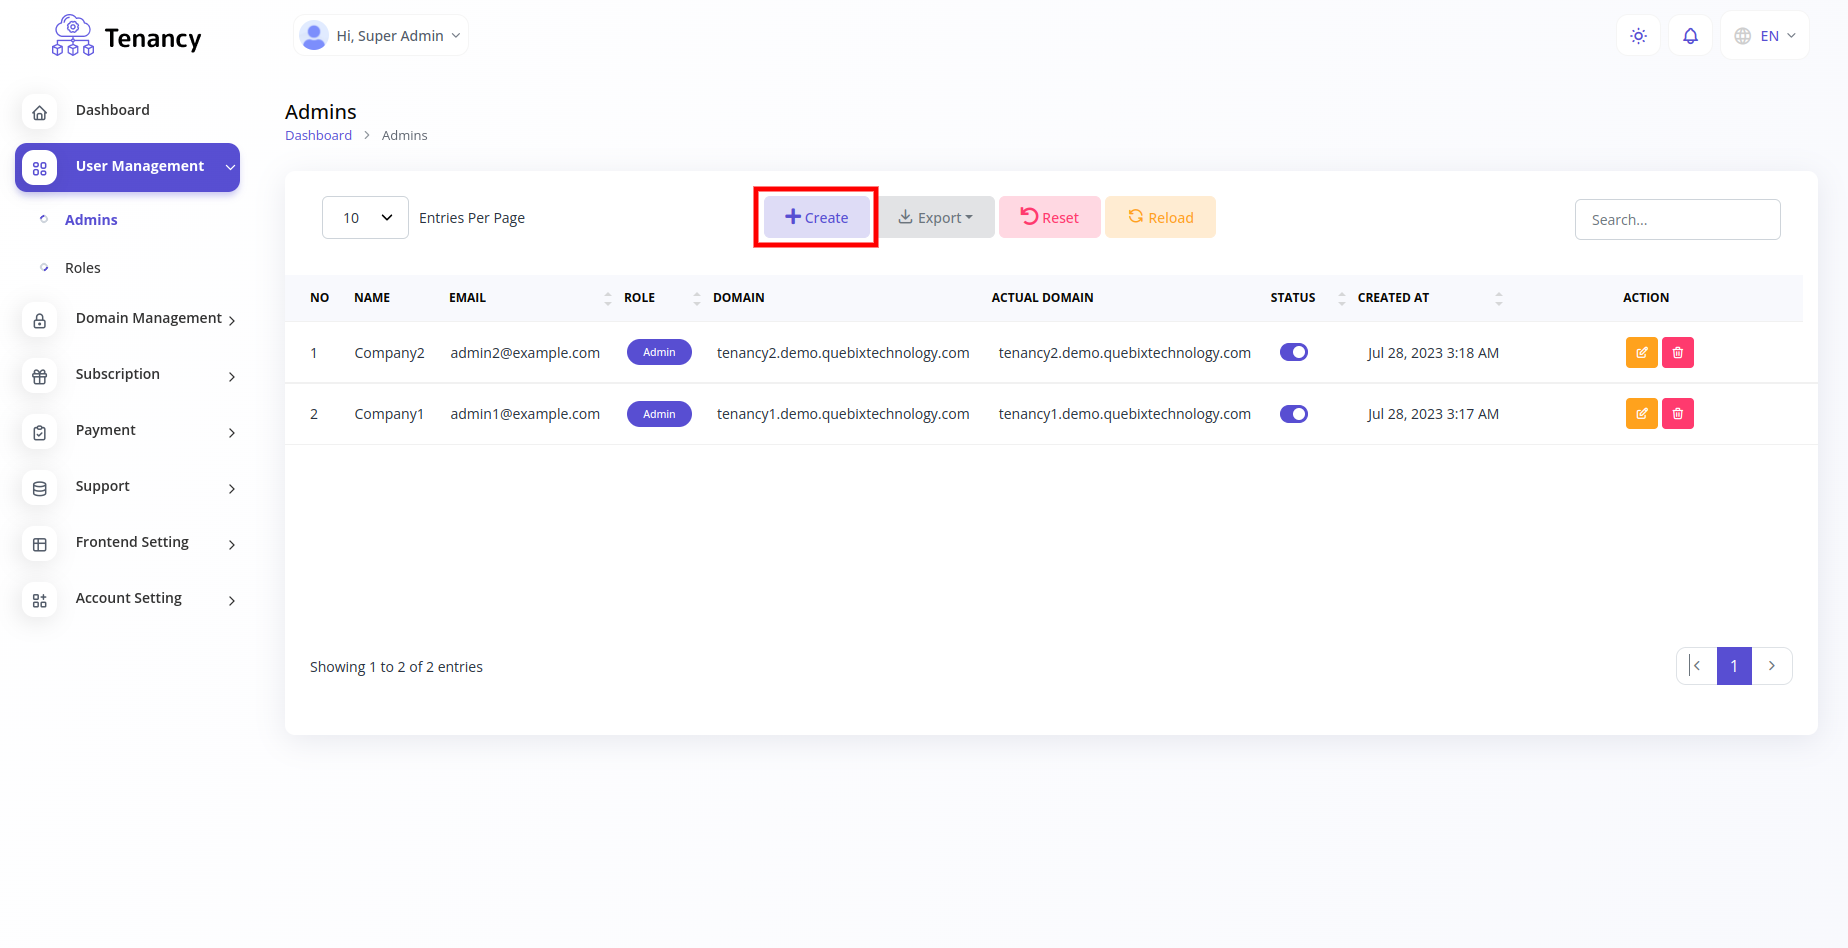
- Open Create Admin
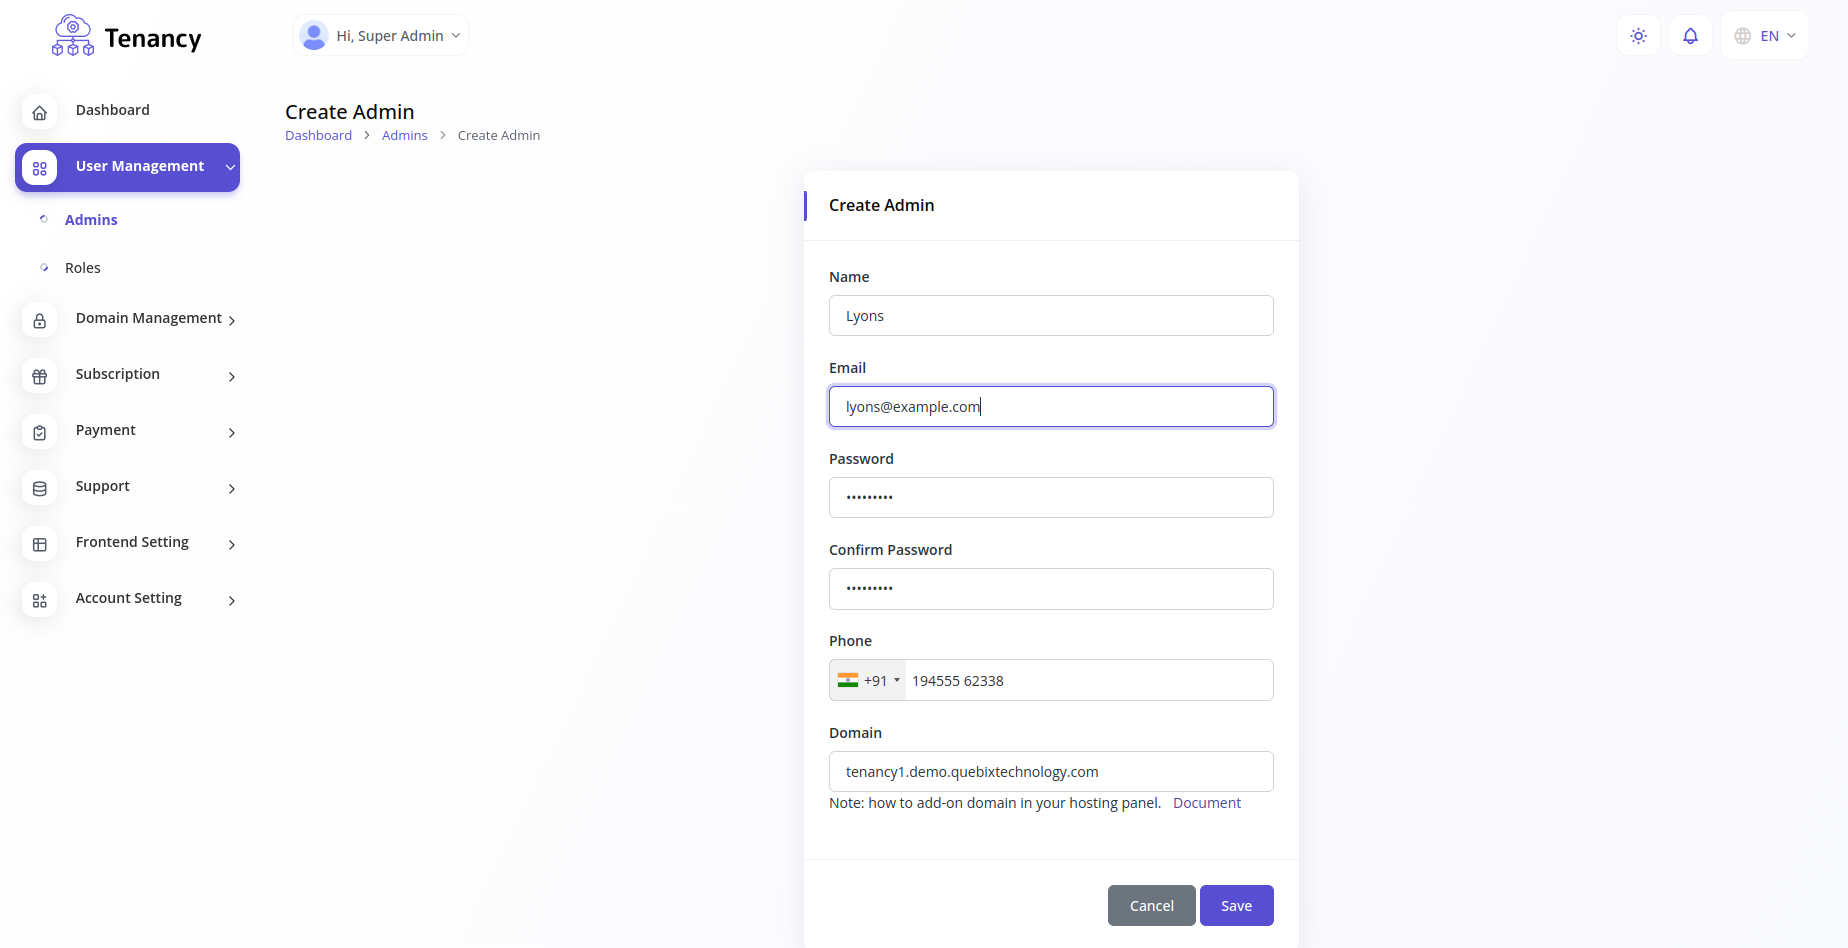
- 1. Insert Your Admin Name :- (example) JOHAN USA
- 2. Insert Your Admin Email :- (example) johanfoodusa@example.com
- 3. Insert Your Admin Password :- (example) example@1232
- 4. Insert Your Admin Confirm Password :- (example) example@1232
- 5. Insert Your Admin Domain configration :- (example) (johan1.demo.example.com) create domain
- 6. Insert Your Admin Phone :- (example) 12345 67891
How Create Domain : Click Open
How To Send New Store Request
- Open your main domain and go to Pricing
- Choose Your Plan
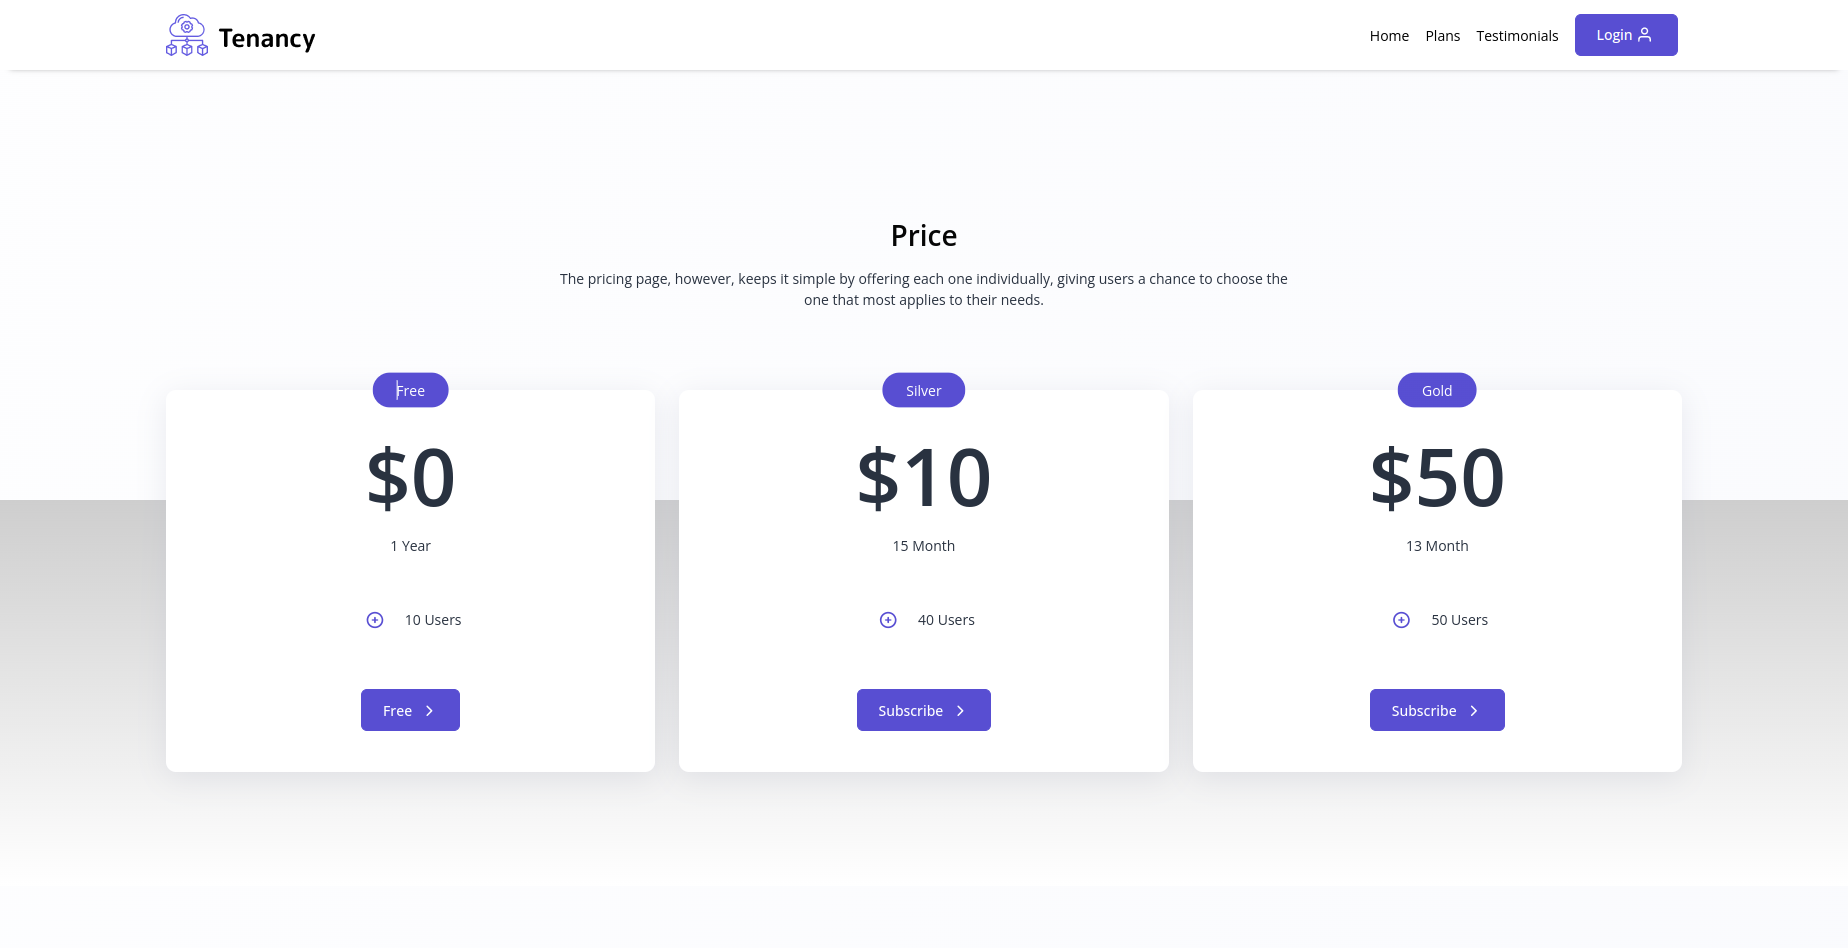
- Open Register
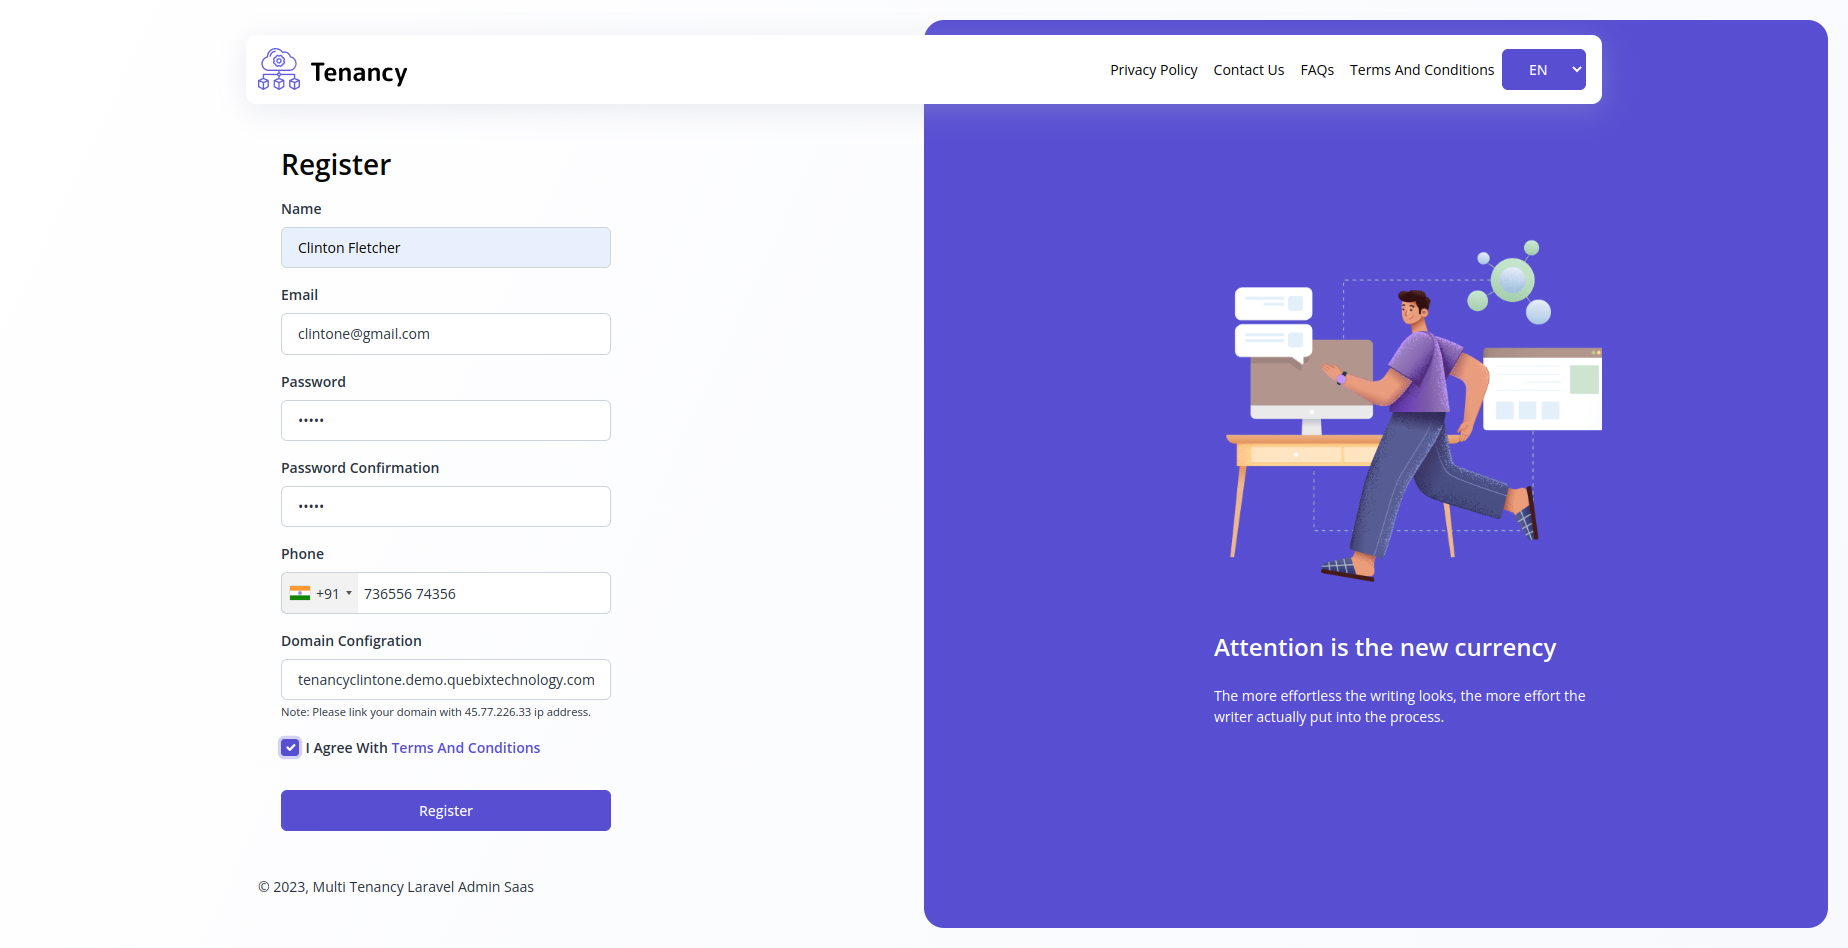
- 1. Insert Your Admin Name :- (example) johan Food USA
- 2. Insert Your Admin Email :- (example) johanfoodusa@example.com
- 3. Insert Your Admin Password :- (example) example@1232
- 4. Insert Your Admin Confirm Password :- (example) example@1232
- 5. Insert Your Admin Domain configration :- (example) (johan1.demo.example.com) create domain
How Create Domain : Click Open
- Login Admin
- After Go to
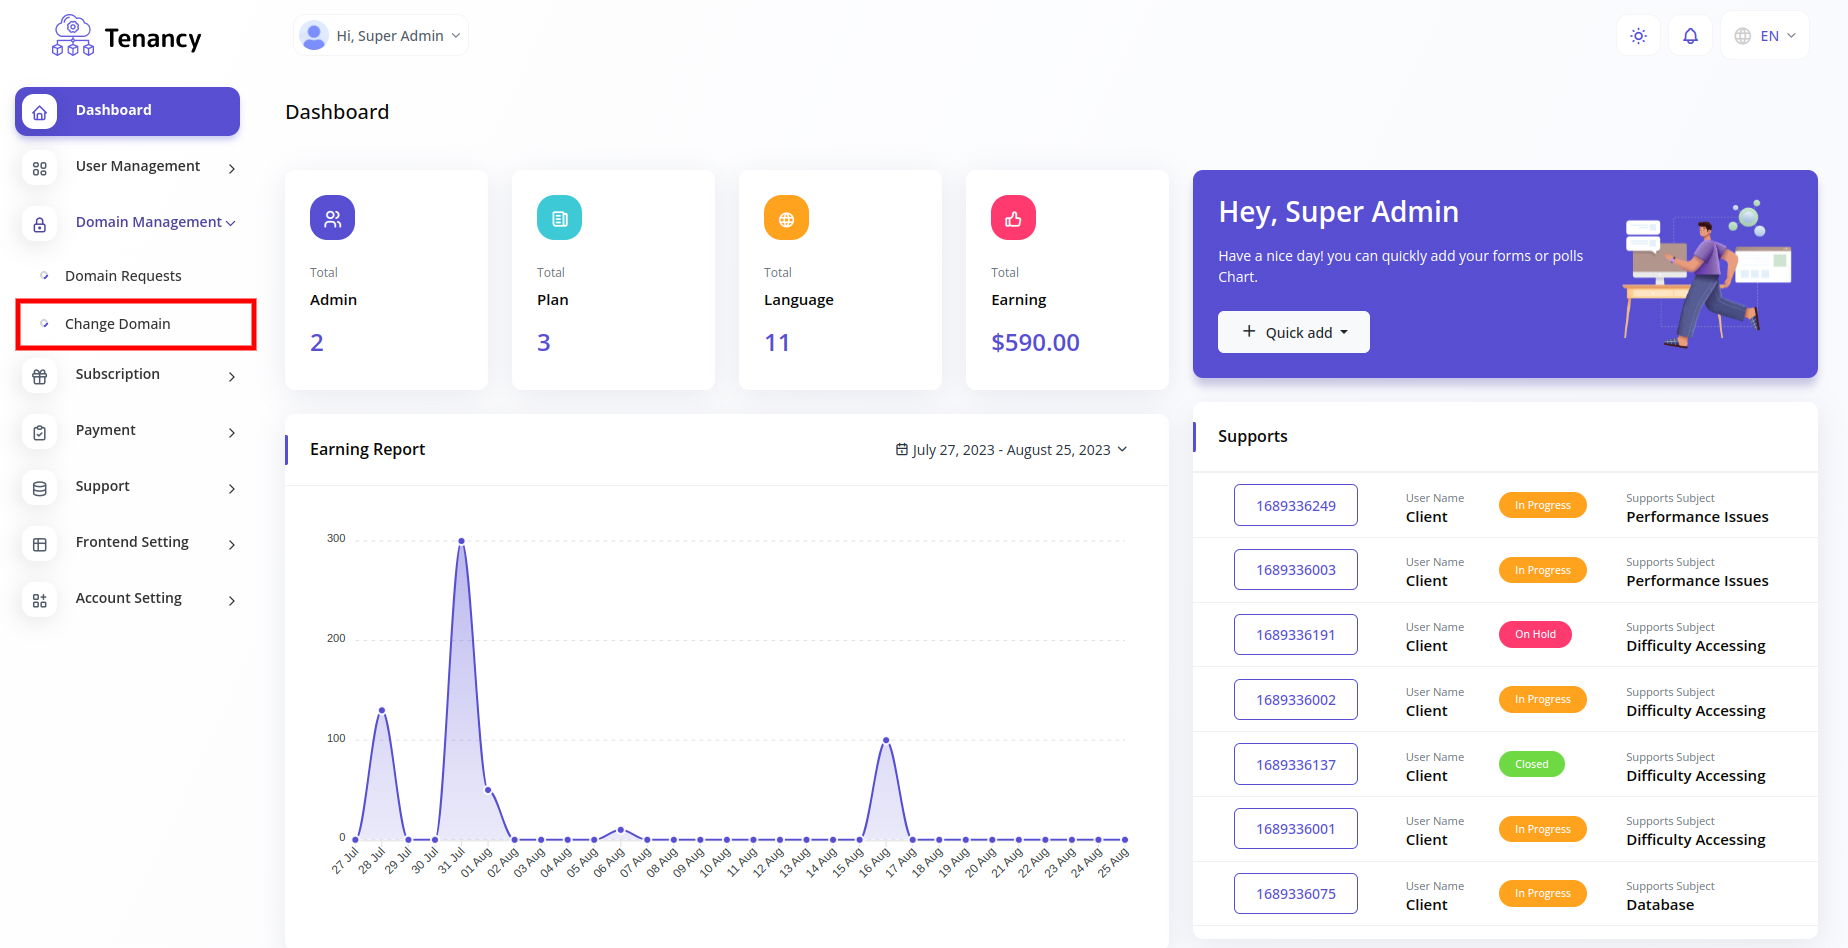
- Open to domain request

- Open to domain request
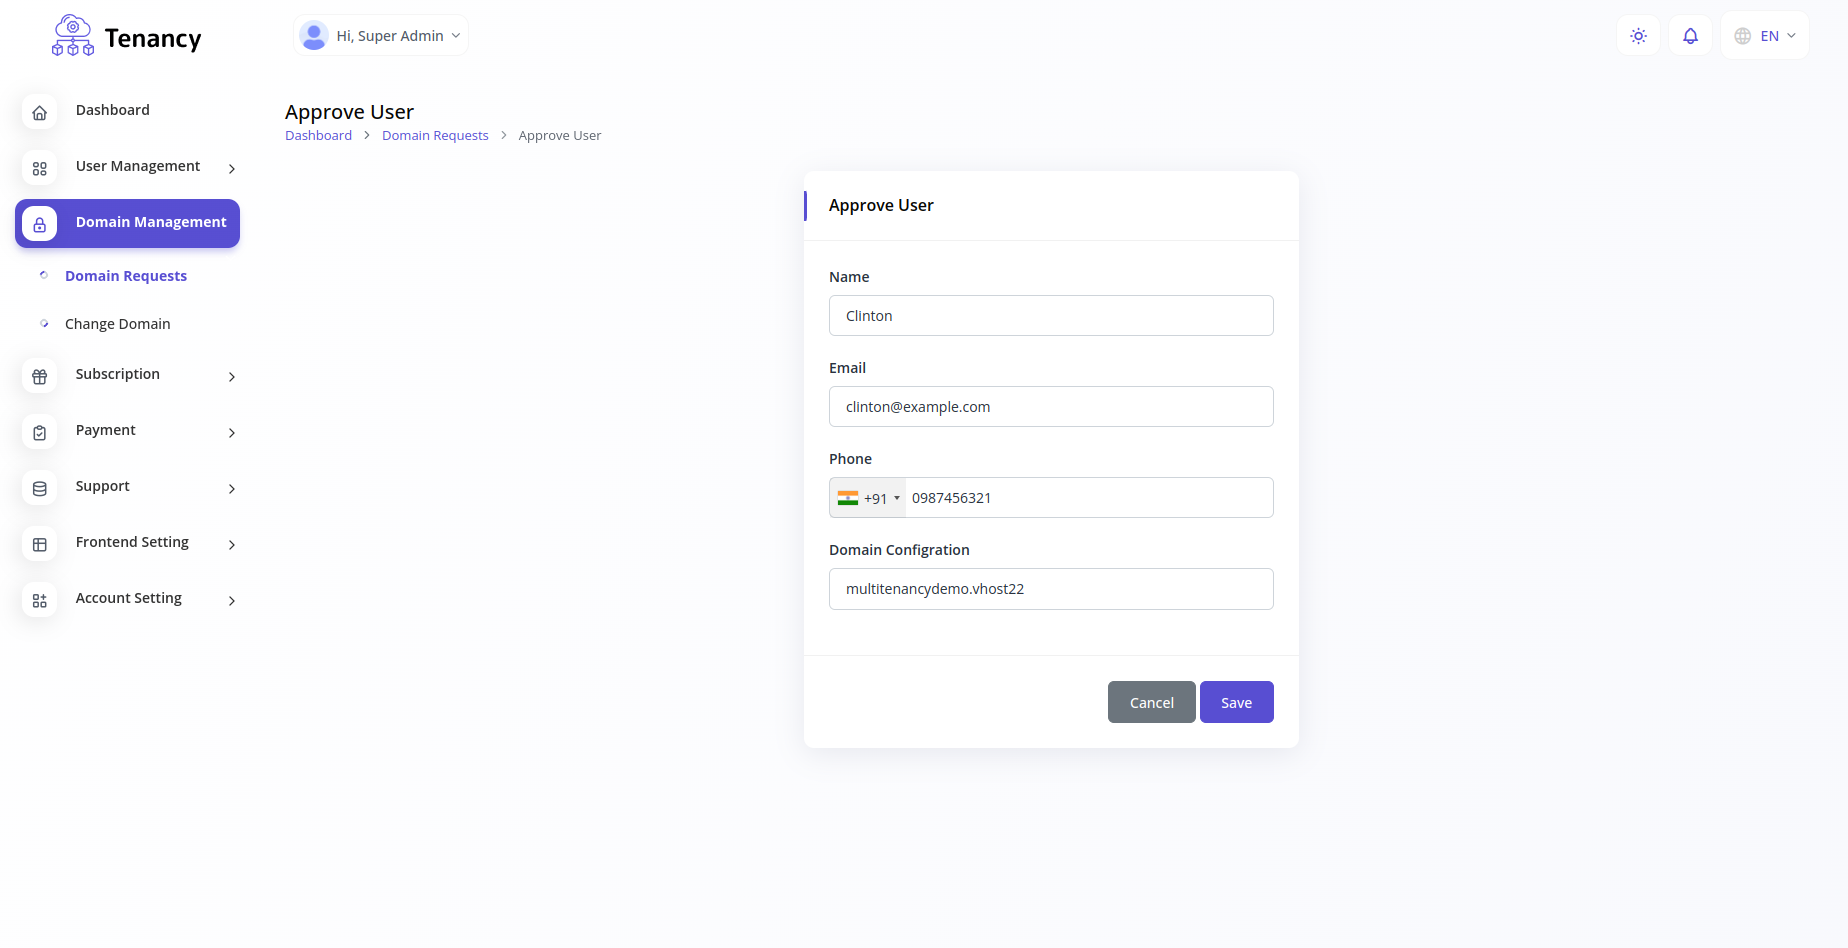
- Check all details And Save
Upgrade
resources/lang.
but
that will be lost as new version
have new language file. so take backup that files for reference of new version that you need
to manually again.
- Make a backup of the
.envconfig file and.htaccesslocated on your server. - Upload and
replace allthe files on your server with what's inside themain_filefolder. - Restore your
.envconfig file and.htaccesson your server. - Do login and follow the update wizard.
FAQs
mod_rewrite enabled on your
server.Please add this to your your .htaccess file configuration
RewriteCond %{HTTPS} !=on
RewriteRule ^/?(.*) https://%{HTTP_HOST}%{REQUEST_URI} [R,L]
Our theme files in resources/views, assets in public/assets folder. You can edit them.
Support
If this documentation doesn't answer your questions, So, Please send us Email via Item Support Page
Go to your CodeCanyon Profile > Downloads Tab > & then You can Rate & Review for our script.
Thank You.
Changelog
See what's new added, changed, fixed, improved or updated in the latest versions.
Version 2.0.1 (07/11/2023)
- Improved Update Laravel Version 9 to 10
- Added Add new landing page with dynamic setting
- Added Add Active log module
- Improved Code side improvement
- Fixed Fix small bugs (Local and S3 Storage Setting)
Version 2.0.0 (31/07/2023)
- Added New payment gateway Mollie, Skrill, Easebuzz
- Fixed Small changes(Frontend setting active inactive)
- Fixed Fix small bugs
Version 1.0.9 (19/07/2023)
- Added Document builder Add Multi theme
- Added Document builder Add Change log
- Added New payment gateway ,SSPay, Cashfree, Aamarpay, PayUMoney, Paytab, Benefit
Version 1.0.8 (10/07/2023)
- Added Document builder easy create document and share
- Added New payment gateway ,Cashfree ,Aamarpay
Version 1.0.7 (26/06/2023)
- Improved Changes data-table design
- Added Event Module with Google Calendar
- Fixed 10 Theme color add
- Added Transparent Layout
- Added Testimonials Module
- Fixed small changes
- Added New payment gateway ,PayFast ,Toyyibpay ,Iyzipay
- Added Notifications Setting
Version 1.0.6(13/01/2023)
- Added New Version Laravel 9
- Added Add module coupons
- Improved Payment flow changes
- Fixed Fix small bugs
- Added Add new design
Version 1.0.5 (04/11/2022)
- Added Add domain link or not in domain request
- Added Add change domain request option on the admin side
- Added Frontend setting new module
Version 1.0.4 (16/09/2022)
- AddedAdd payment gateways (Flutterwave, paystack, Paytm & CoinGate, Razorpay, Offline request, Paypal)
- AddedAdd send Create (admin and superadmin chat)
- AddedAdd email verification
- Fixedother new changes
- ImprovedSet logo new design
- AddedSet multiple payment gateway design
- ImprovedSmall changes(plan active inactive ,landing Page setting & user active inactive)
- FixedFixed bug
Version 1.0.3 (07/05/2022)
- Improved Change theme
- Fixed Add Category & blogs
Version 1.0.2 (05/01/2022)
- Added Domain request module
- Added Add Frontend and static pages
- Fixed Fixed a security issue
Version 1.0.1 (01/11/2021)
- Fixed Fixed a security issue
- Added Add transaction module
v1.0.0 ()
Initial release.